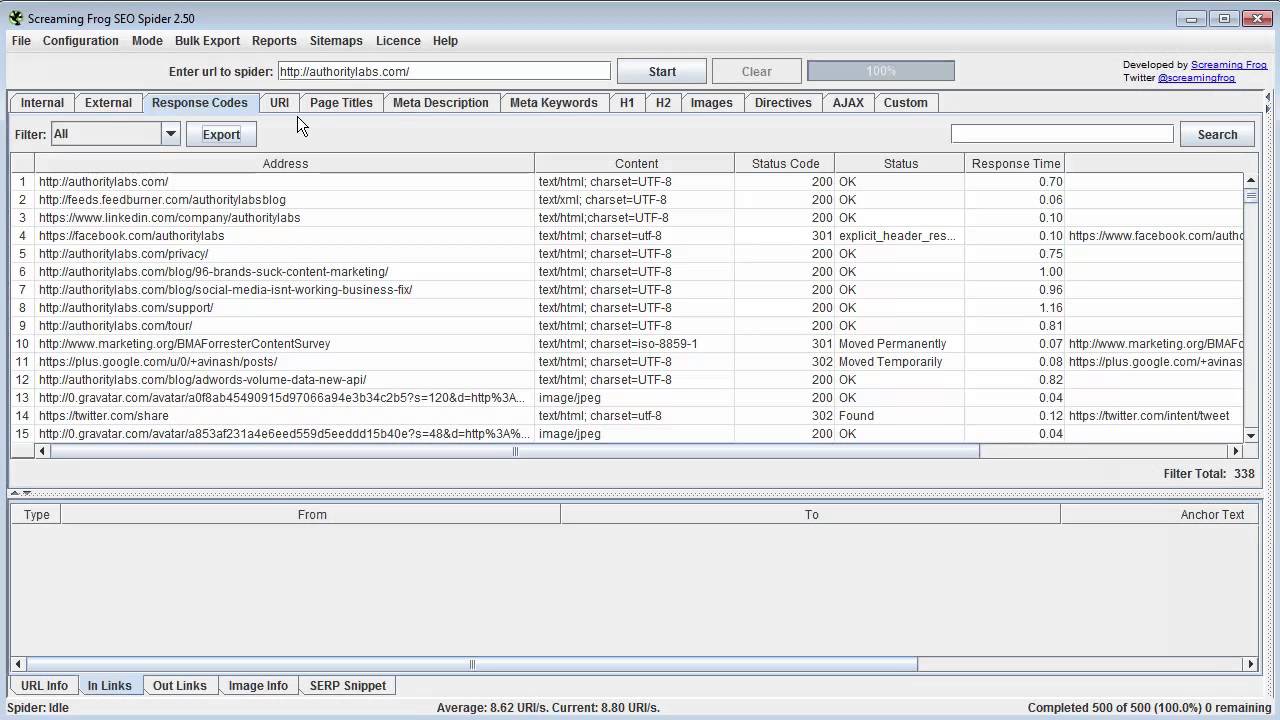
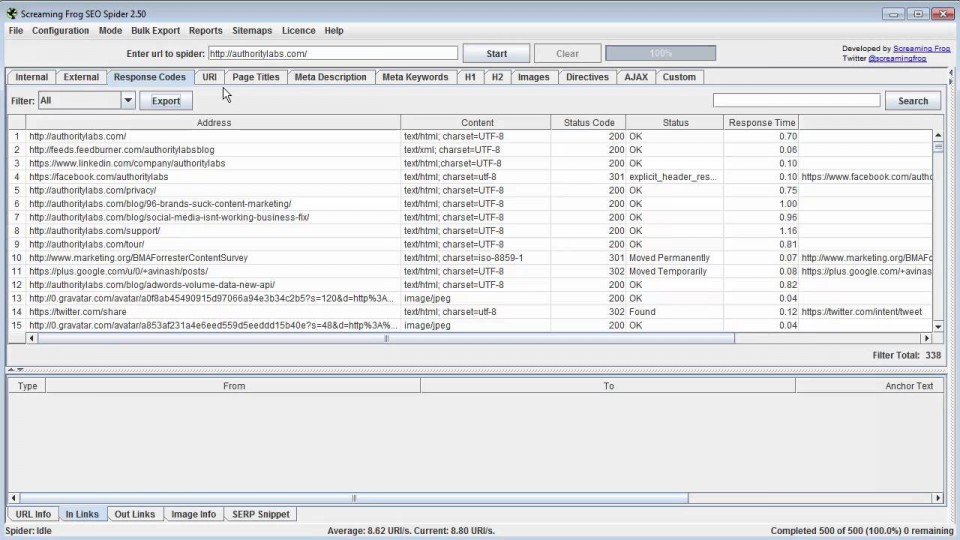
 If you haven’t used Screaming Frog, you are missing out.
Screaming Frog is a tool that scrapes your site and identifies common SEO issues. It then presents them in a way that is easy to export and edit in Excel. I know, my dream tool.
You can get started with Screaming Frog for free! Or you buy the tool for $99 a year and get these cool features:
- The 500 URL crawl limit is removed
- You can access ALL the configuration options
- You can save and re-upload crawls
- You can search for anything in the source code of a website with the custom source code search feature
- You get support for any technical issues with the software
Check out the full tuTORIal here!
Or follow along below, whichever tickles your fancy.
Step 1 – Off to the Races
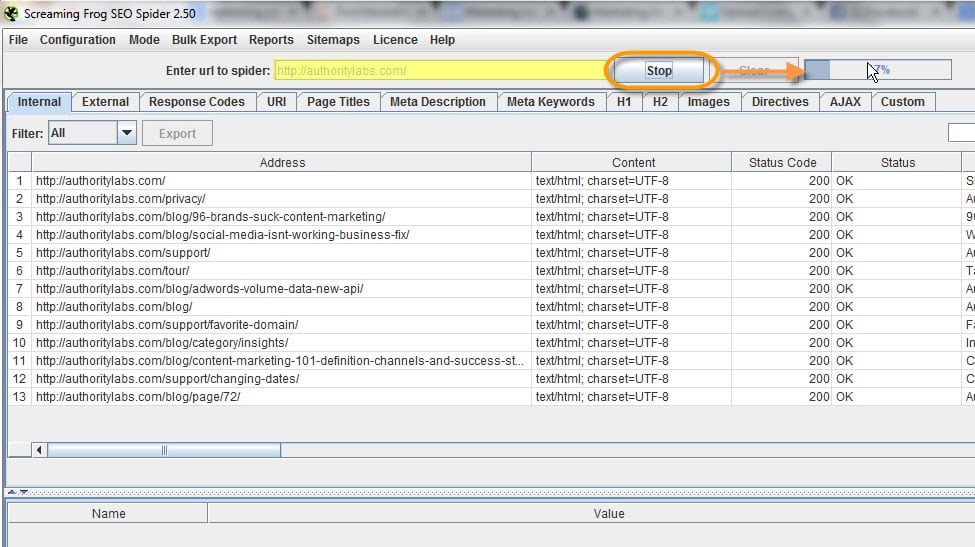
Enter in your domain and hit the start button. It will take about 1-3 minute, depending on the size of your site. The links will start dropping in.
Step 2 – Play and Explore
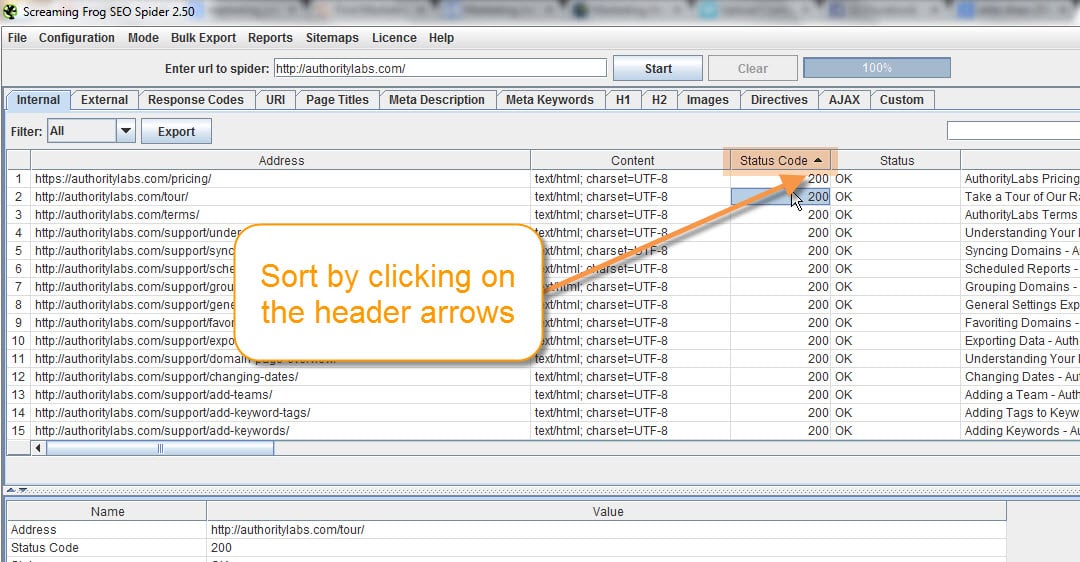
You can sort by any of these columns, just by clicking on the header. An arrow will appear and you can sort by ascending or descending.
Step 3 – Find Broken Links
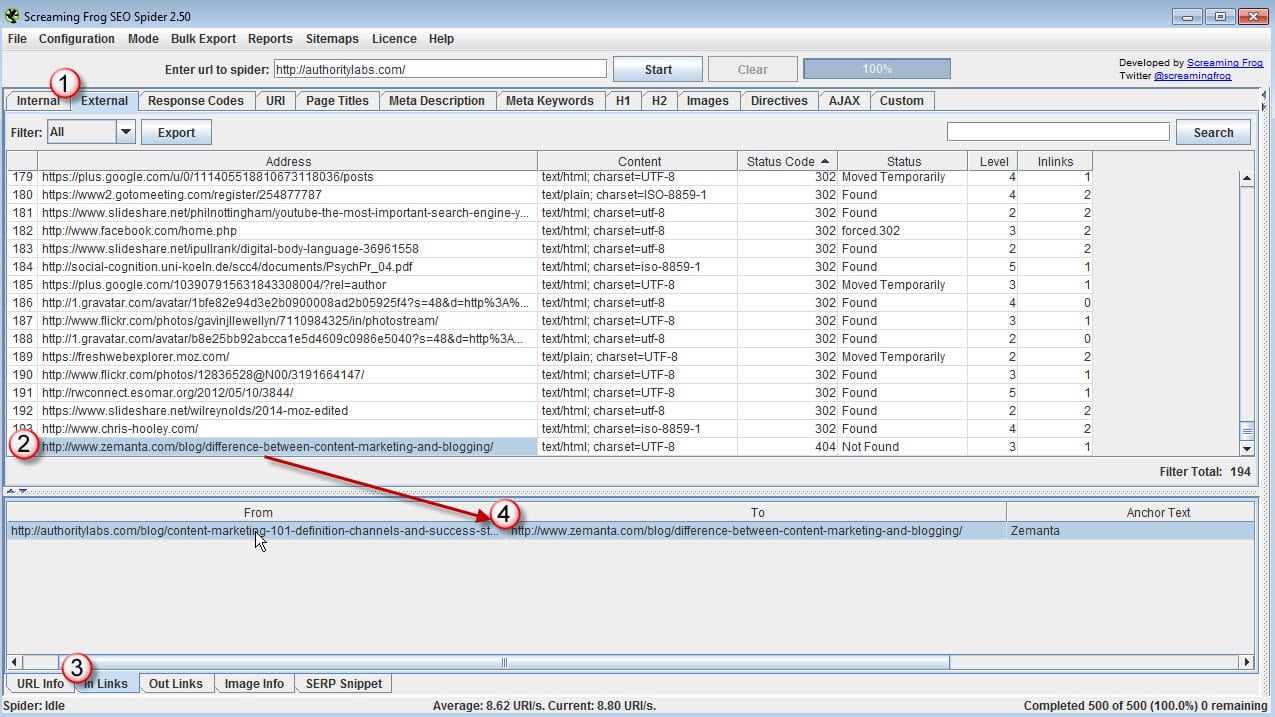
I’m in the External tab right now, which means I’m looking at all the links that are on AuthorityLabs.com and linking to other sites. You can see that this status code is a 404, which means that the link is broken. I can go into the bottom portion of the tool for a more in depth look at the link I have selected.
Step 4 – Drill Down
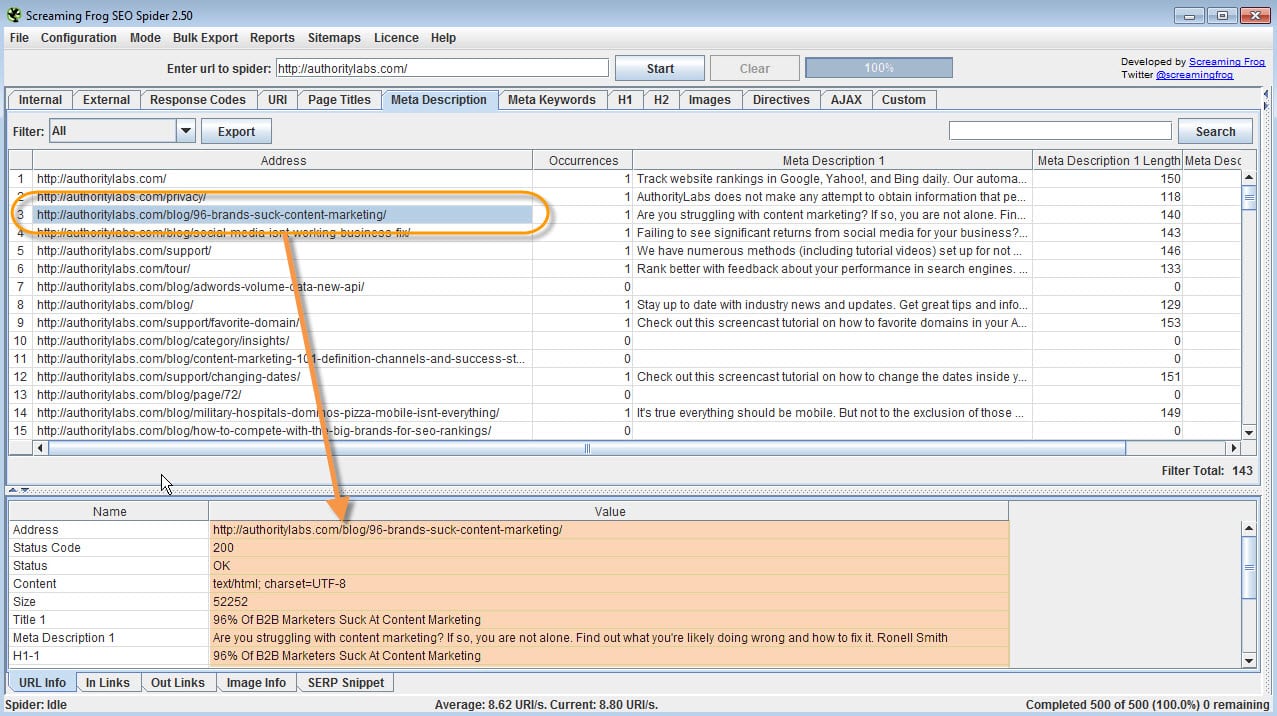
While in the Meta Description tab, you can find out more about any of the content in these rows by just clicking on the cell. Once you do that, the bottom portion of the tool will breakdown more details about that specific page’s meta description.
Step 5 – Export Your Data
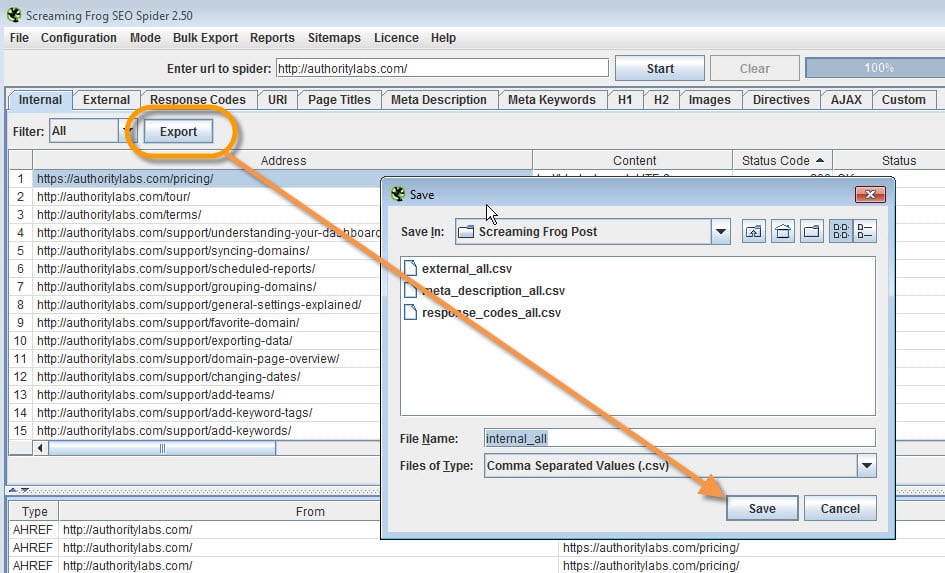
Exporting your data is super simple. While on a main tab, select the export button. Then save to your specific folder. In this tuTORIal, I exported the Internal, External and Meta Description tabs.
Step 6 – Bring it into Excel
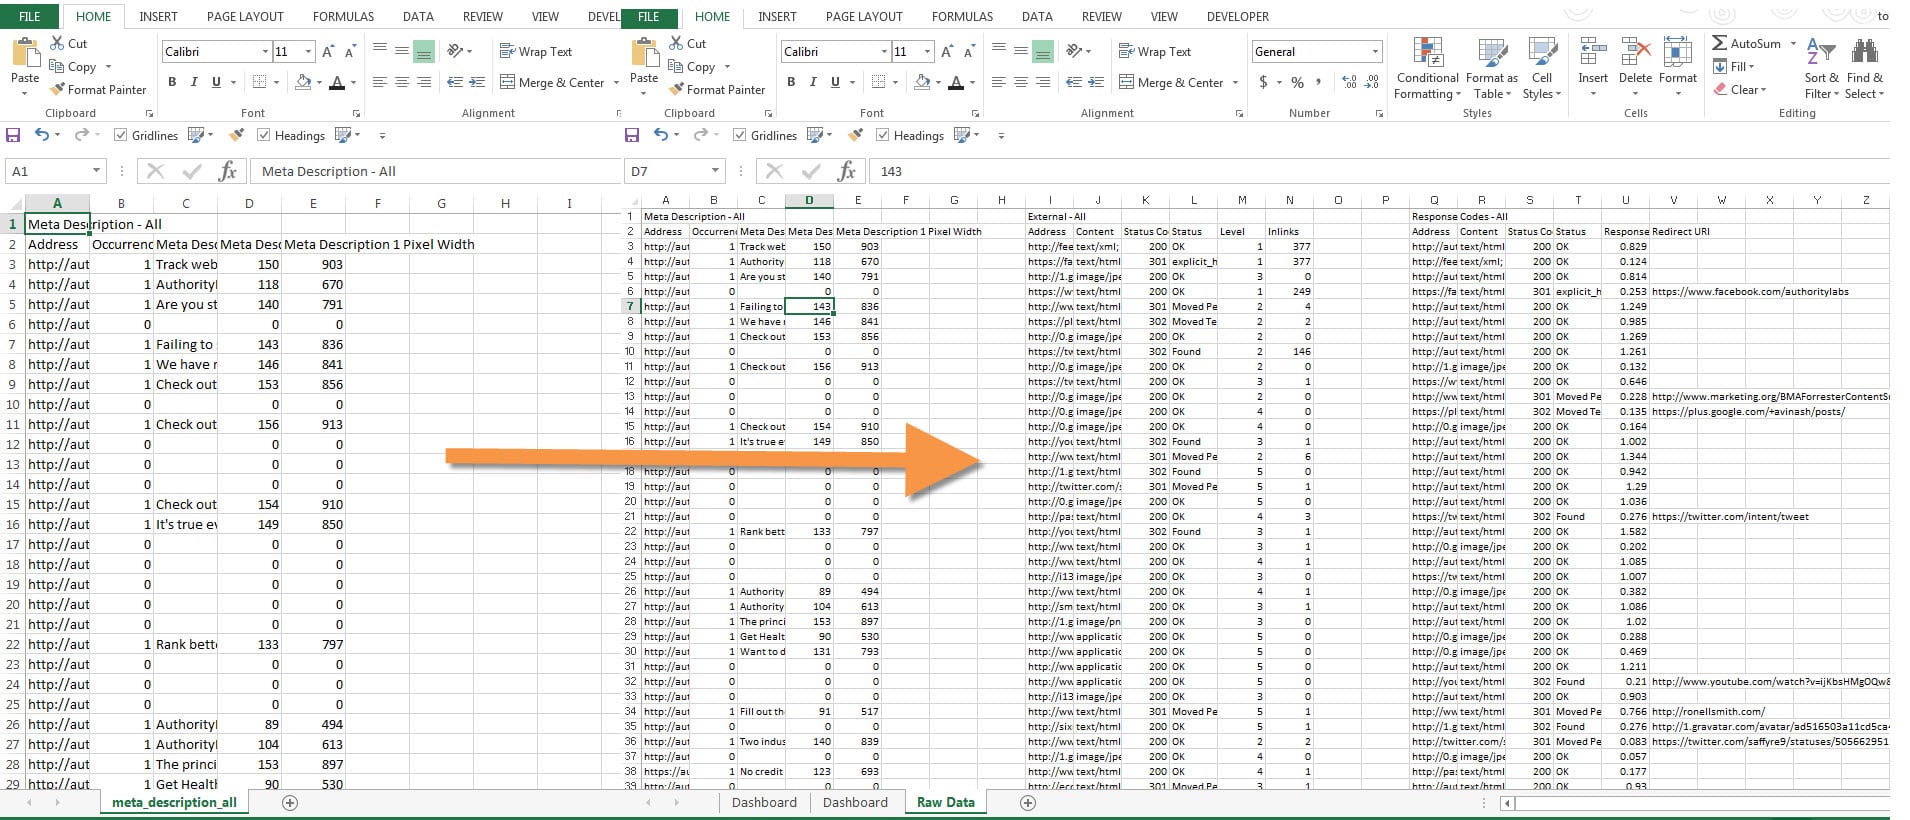
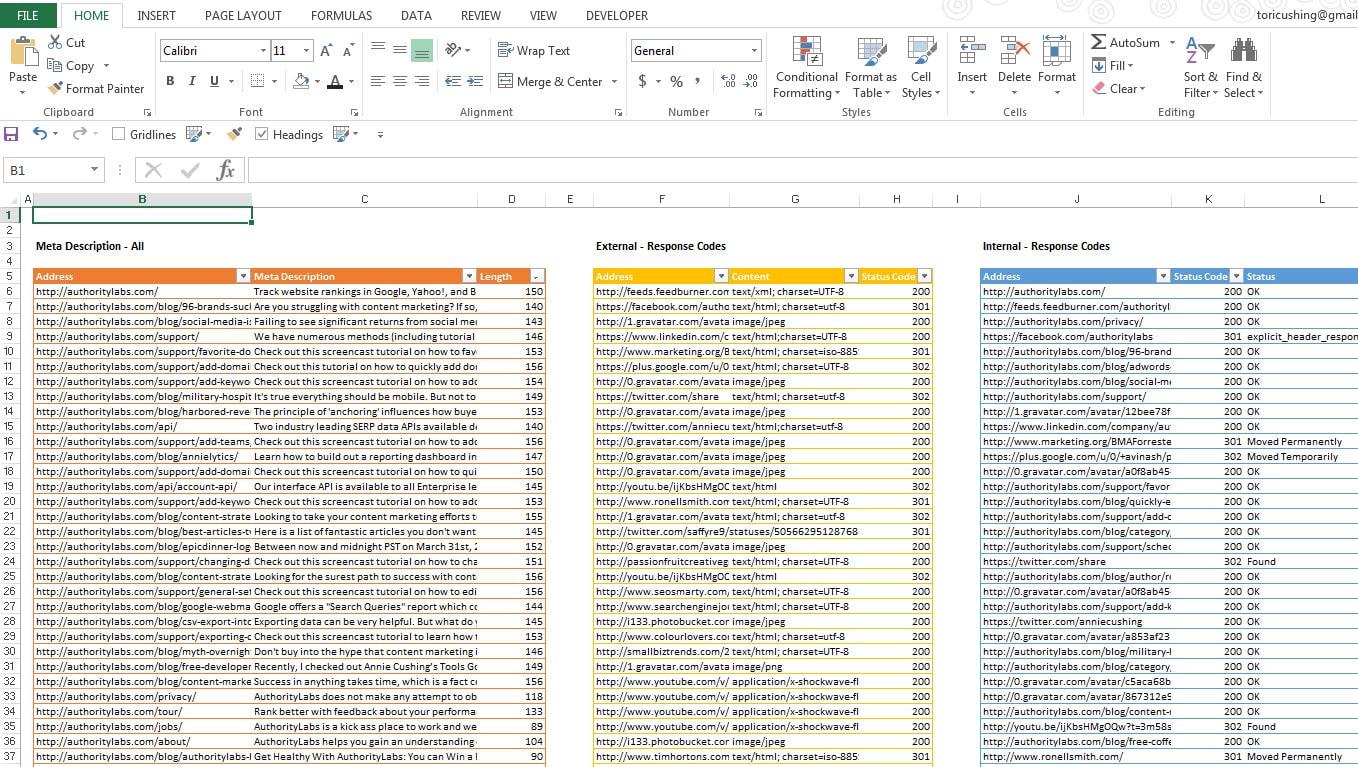
Here I took my three raw CSVs exports and complied them into one Raw Data tab.
Step 7 – Creating Tables
To do this, I selected the data I wanted in my table and selected, Home > Styles > Format as Table. If you would like to learn more about table formatting, check out my Excel for Noobs post.
Step 8 – Formatting
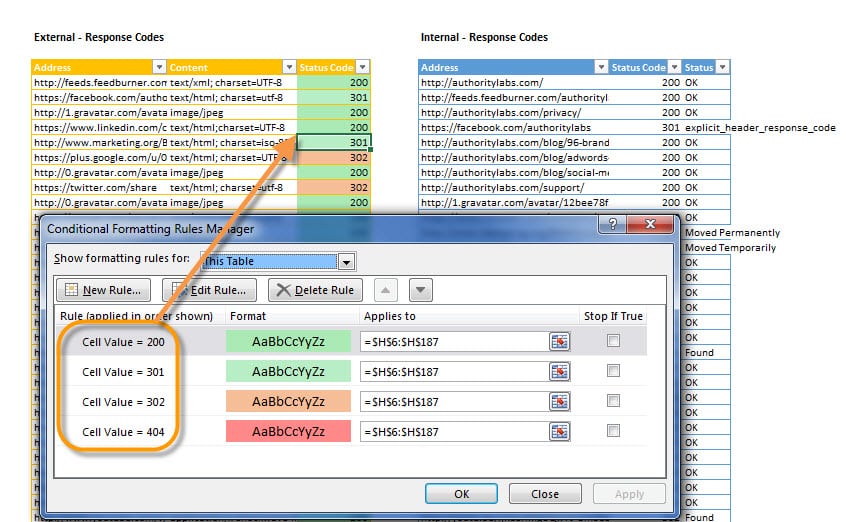
For the External Response Codes, I created four conditional formatting rules. If you’re not familiar with how to do this, skip ahead to where I cover it in this tutorial. Want to learn more about it? Check out my 101 Wednesday on Conditional Formatting.
Step 9 – More Formatting!
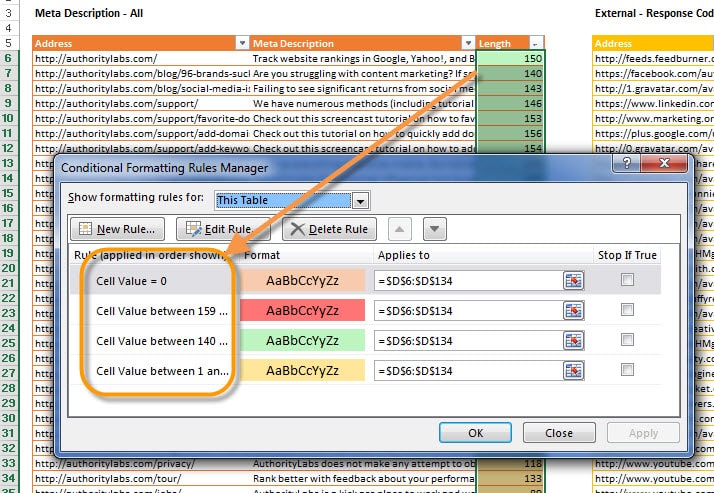
Because, pretty colors. I repeated this process over for the Meta Descriptions. Follow along here.
Step 10 – Make Your Own Pretty Colors!
Now that I’ve given you a starting point, I hope you explore this tool even more. Feel free to share you screamingly awesome endeavors with me on Twitter. Thanks!
